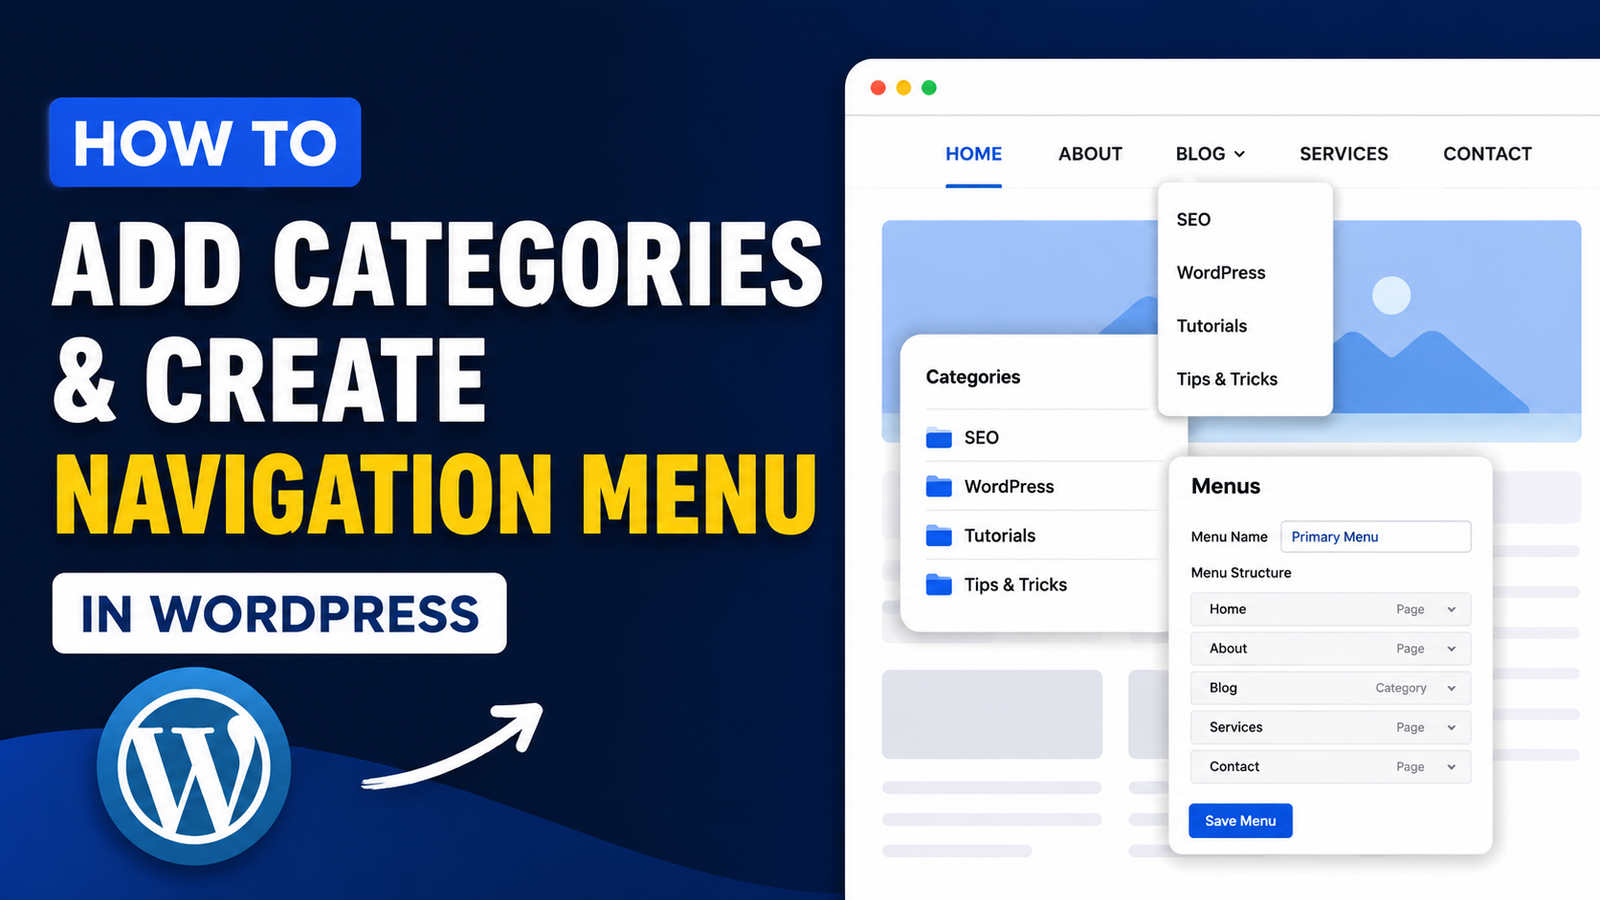
How to Add Categories & Create Navigation Menu in WordPress
Welcome back to Episode 2 of my Zero to Hero series, where I’m walking you through building a blog from complete scratch. In the last episode, I bought a domain and set up a theme with the help of AI.
In this post, I’ll show you how I create categories, add blog posts, and set up menus in WordPress, so your site actually starts to feel like a real, structured blog rather than just a blank template.
Getting Familiar with the WordPress Backend
If you’re new to WordPress, the backend can look a little overwhelming at first, but it’s actually quite simple once you know where to look. At the top, there’s a “Home” option that lets you visit your live site directly, along with quick access to your hosting provider (in my case, Hostinger, since that’s where my site is hosted). You’ll also see a few update notifications, but honestly, those aren’t things you need to worry about right away.
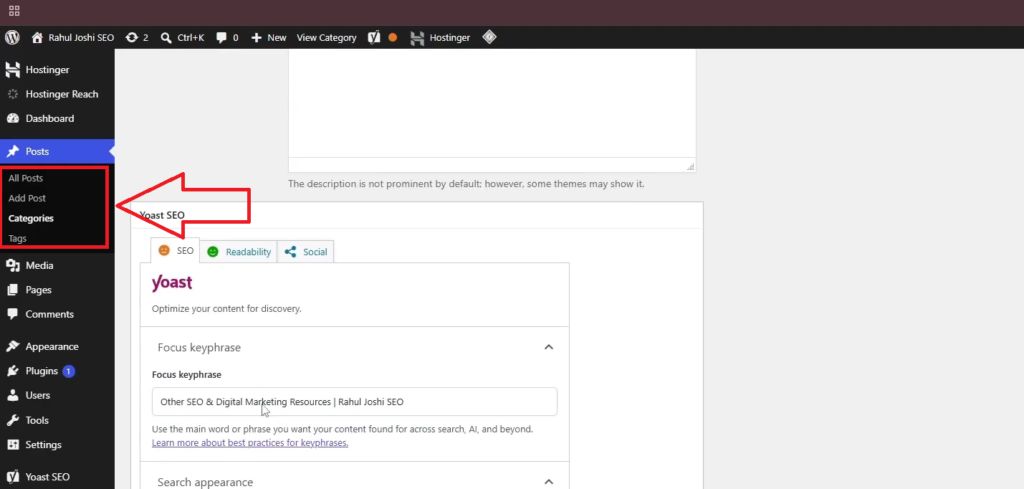
The section you’ll spend most of your time in is Posts. It has four parts:
- All Posts – where every post you’ve published or drafted lives
- Add Post – for creating something new
- Categories – for organizing your content
- Tags – for additional labeling
When I open “All Posts,” I can see the article I published just yesterday, along with a couple of drafts I ended up trashing. That’s really all there is to it on this screen.
How I Set Up My Categories
Before I go further, I’ll admit something — this is actually my fourth attempt at recording this exact episode. The first three ran into technical issues (a mic that wouldn’t cooperate, audio that didn’t record), so by the time I got to this version, I’d already created my categories in an earlier take. I can’t recreate that moment on camera again, but I can absolutely walk you through the process.
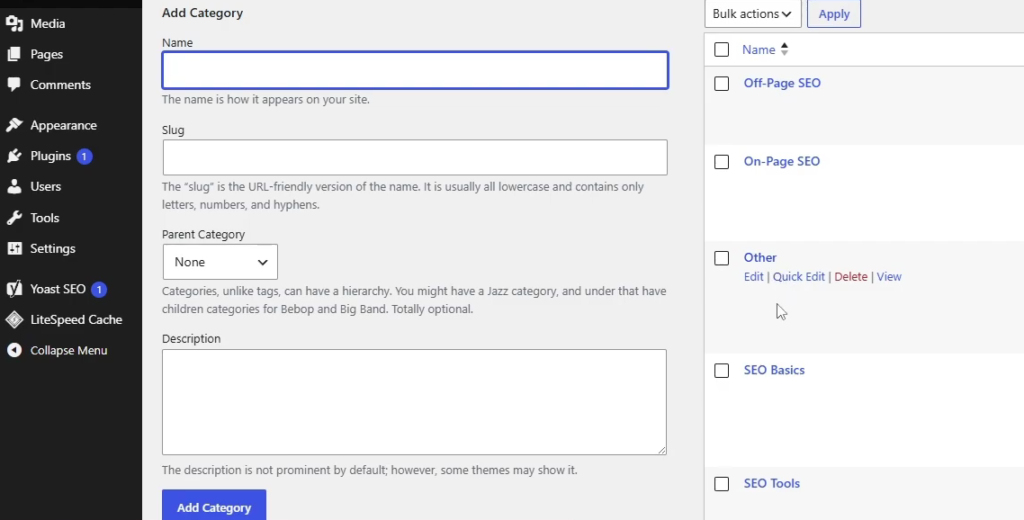
Here are the categories I’ve set up for my SEO blog:
- Off-Page SEO
- On-Page SEO
- SEO Basics
- SEO Tools
- Technical SEO
- Other
Creating a category is simple: give it a name (say, “Other”), and WordPress will automatically generate a matching slug for it. You don’t need to assign a parent category unless your structure calls for it — just add a short description explaining what the category covers.
Once that’s done, I go a step further and add an SEO meta title and meta description using the Yoast plugin. This helps each category page perform better in search results. After filling those in, I hit “Update,” and the category is live — ready to show up wherever I need it across the site.
Building Out My Menus
With categories in place, the next step is making sure visitors can actually navigate to them — and that’s where menus come in. Every WordPress theme handles menu settings a little differently, but the underlying process stays consistent.
You’ll find this under Appearance → Menus. On my site, I’ve set up two:
- Main Menu – holds all my pages
- Secondary Menu – holds all my categories
Adding something new is straightforward. Say I’ve just created a category — I go to that category, click “View All,” select it, click “Add to Menu,” and it drops right in. A quick save, and it’s live on the site.
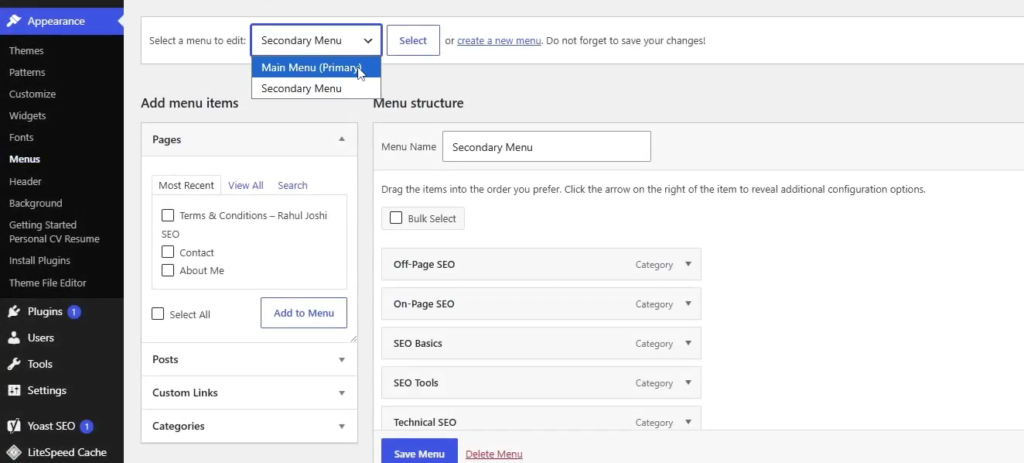
Menus aren’t limited to categories, either — you can add posts, pages, custom links, and categories, all mixed together if you want. It’s a flexible system once you get the hang of it.
The Four Pages Every Blog Needs
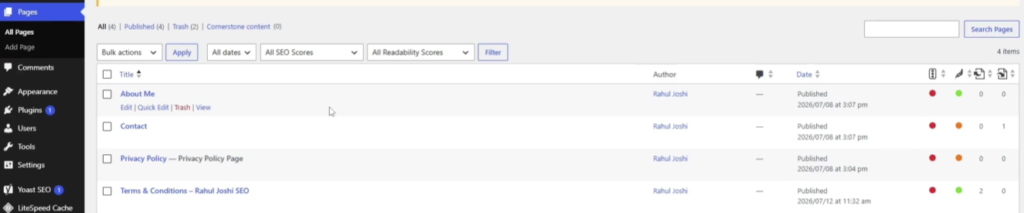
Alongside categories, I also built out four essential pages that I believe every website should have:
- About Me / About Us
- Contact
- Privacy Policy
- Terms and Conditions
Creating a page is as simple as clicking “Add Page” and building it out. And while you can create unlimited categories and unlimited pages, these four are the non-negotiables — every serious site needs them.
Choosing and Installing a Theme
I also want to share how I settled on my current theme. When you first buy a domain, your site starts out completely bare — no menus, no categories showing anywhere.
To fix that, head to Appearance → Add Theme, where you can search based on your niche — portfolio, blog, YouTube channel, whatever fits. Once you find something you like, installing it is a single click, and it appears right in your dashboard.
I actually tested a few different themes before landing on the one I’m using now — a “Personal Resume Portfolio” style theme. And the nice thing is, even after you’ve applied one theme, you’re never locked in. You can switch to another whenever you like.
Fine-Tuning Menu Placement
Once your menus exist, you’ll want to control exactly where they appear. If you’re logged in, look for the Customize option, then head into the Menus section.
Here, you can see which menu is assigned as your Main Menu — this typically shows up in a fixed spot, whether that’s the top of the page or, in my case, the left-hand sidebar. There’s also a Secondary Menu option, and the customizer previews exactly what would move where if you change assignments. I’ve kept mine as-is for now.
Displaying Menus Through Widgets
You might be wondering how a menu ends up appearing somewhere specific, like in a sidebar. That comes down to Widgets, which let you place content in your sidebar or footer.
I added a “Navigation Menu” widget, labeled it simply “Menu,” and then selected which menu I wanted displayed — Main Menu in one widget, Secondary Menu in another. You can even add a custom title above each widget for clarity. And widgets aren’t limited to menus — you can also showcase things like your top posts in the sidebar the same way.
Here is a full Video
A Quick Word on Hosting and Domains
If you’re serious about starting your own blog, you’ll eventually need to buy both a domain and hosting. As a rough guide, a one-year hosting plan on Hostinger runs around ₹200, and a domain typically costs about ₹100 — that’s roughly what I paid when I set mine up in the previous episode.
I know that spending around ₹3000 upfront can feel risky when you’re still learning the ropes. So if you’d rather ease into it, I’m happy to help — I run a large server with capacity to host up to 100 websites. Feel free to reach out, and I can offer hosting at a discounted rate — around ₹1000 for a full 12 months, instead of the usual ₹3300 for hosting plus domain. That’s a solid ₹1200 in savings if you’re ready to commit.